
White to move

The first move is a clearance sacrifice, but is really a not so simple exchange of knights.
1.Nb4
Is 1.Nc3 as good?
1...axb4 2.Qxd6
White's second move removes the defender of e8.
2...Qd7
White to move
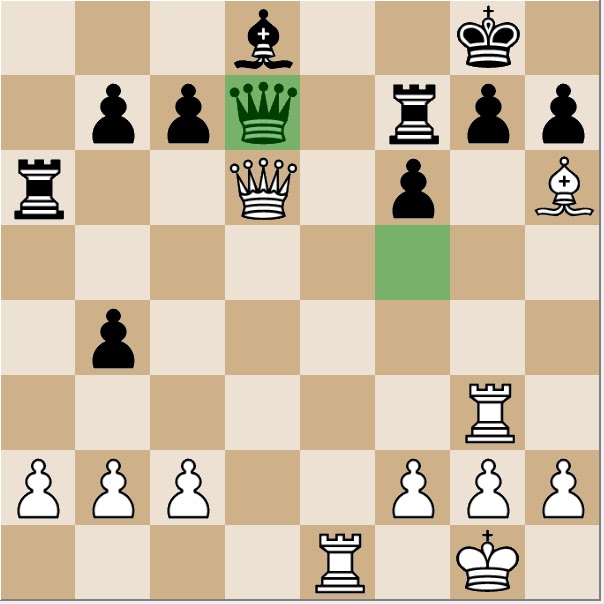
I failed to find 3.Qd5, which pins the rook. Black's response, 3...Kf8, creates a position where White must begin a series of real sacrifices leading to checkmate. The final position is a common and well-known checkmate pattern, but the sequence of moves leading there remain difficult for me to anticipate from the diagram position.
4.Rxg7 Qxd5
Now, the position contains the decoy motif that I should know from Mayet -- Anderssen 1851.
5.Rg8+ Kxg8 6.Re8+ Rf8 7.Rxf8#.
The entire sequence has White giving up three pieces for a knight to effect checkmate, and employs the tactics of clearance, removing the guard, pin, and decoy. It is problem 32 in the Anthology of Chess Combinations, and has been the most troublesome combination in that set so far.


No comments:
Post a Comment